Notifications Hub
The Notifications Hub is your central place to monitor system notifications, track errors, and stay informed about the status of your Gluesync operations. Regularly checking the Notifications Hub helps you stay on top of any issues that may require your attention.
Accessing the Notifications Hub
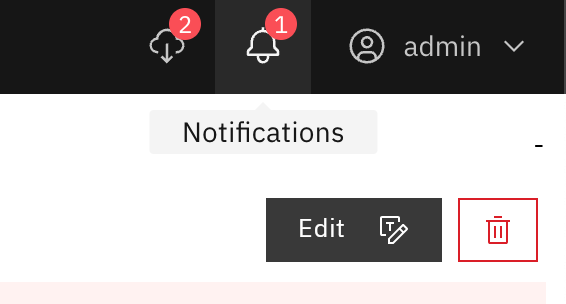
To view your complete notification history, simply click the bell icon located in the top right corner of the Gluesync interface. This action will directly open the full Notifications Hub page.
Navigating the Notifications Hub
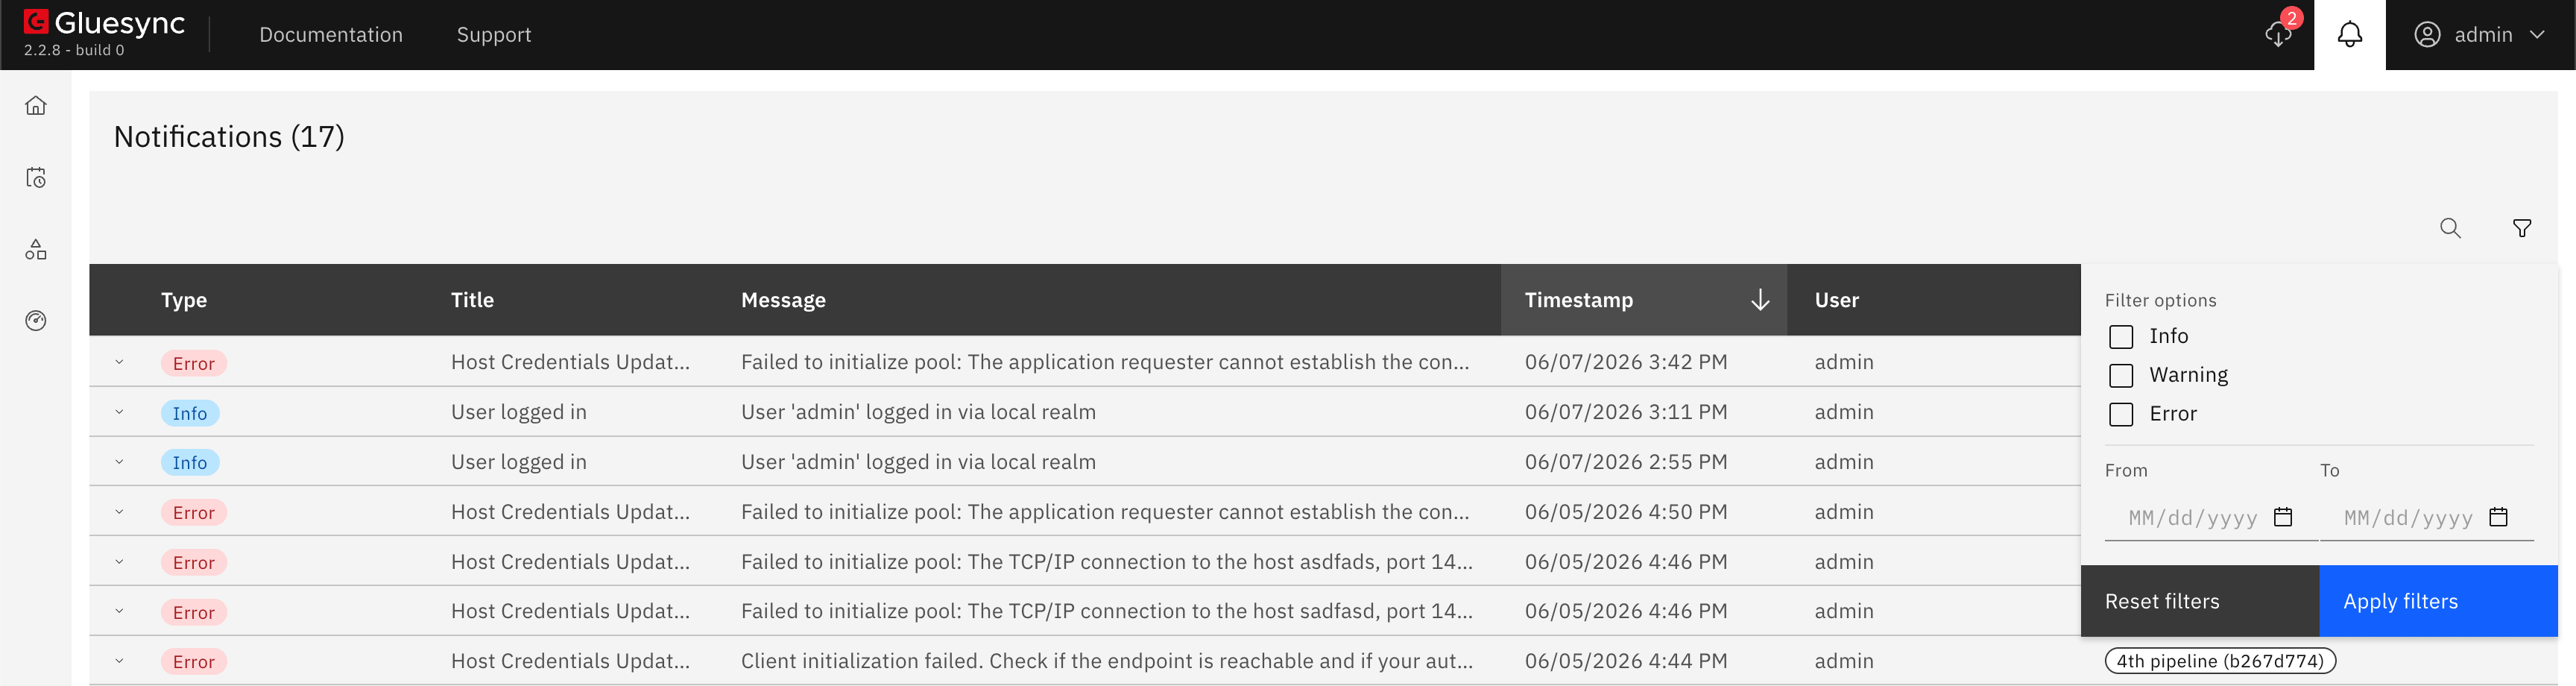
The Notifications Hub displays a detailed table of all system events. The interface is designed to help you quickly identify and analyze issues:
-
Sortable Columns: You can reorder the notifications by clicking on the table headers, such as Type, Title, Message, Timestamp, User, and Area. An arrow indicator will show the current sorting direction.
-
Expandable Details: Click on any notification row to expand it. This reveals the complete error message, full code blocks, and a convenient "Copy" button to easily save the error details to your clipboard for troubleshooting.
-
Pagination: Use the controls at the bottom of the page to adjust the number of items displayed per page and navigate through your notification history.
Searching and Filtering Notifications
The top right corner of the Notifications Hub provides two distinct tools to help you find specific events:
-
Search: Click the magnifying glass icon to perform a text search across your notifications.
-
Filter: Click the funnel icon to open the filter options panel on the right side of the screen.
Using the Filter Panel
When the filter panel is open, you can narrow down the notifications using the following options:
-
Filter options: Check the boxes to view specific notification types (Info, Warning, Error).
-
Date range: Use the "From" and "To" date pickers to view notifications within a specific timeframe.
Click the Apply filters button to update the table with your criteria, or use Reset filters to clear your current selection and view all system notifications.
Understanding Notification Types
-
Errors: Indicate critical issues that require immediate attention.
-
Warnings: Highlight potential issues that might need monitoring.
-
Information: Provide status updates and system messages.
Notification retention
To manage how long your notifications are stored within the Core Hub, you can configure the notification retention policy. This feature helps you maintain a clean operational environment and manage metadata storage efficiently.
You can access and configure this feature by navigating to Settings > Notification.
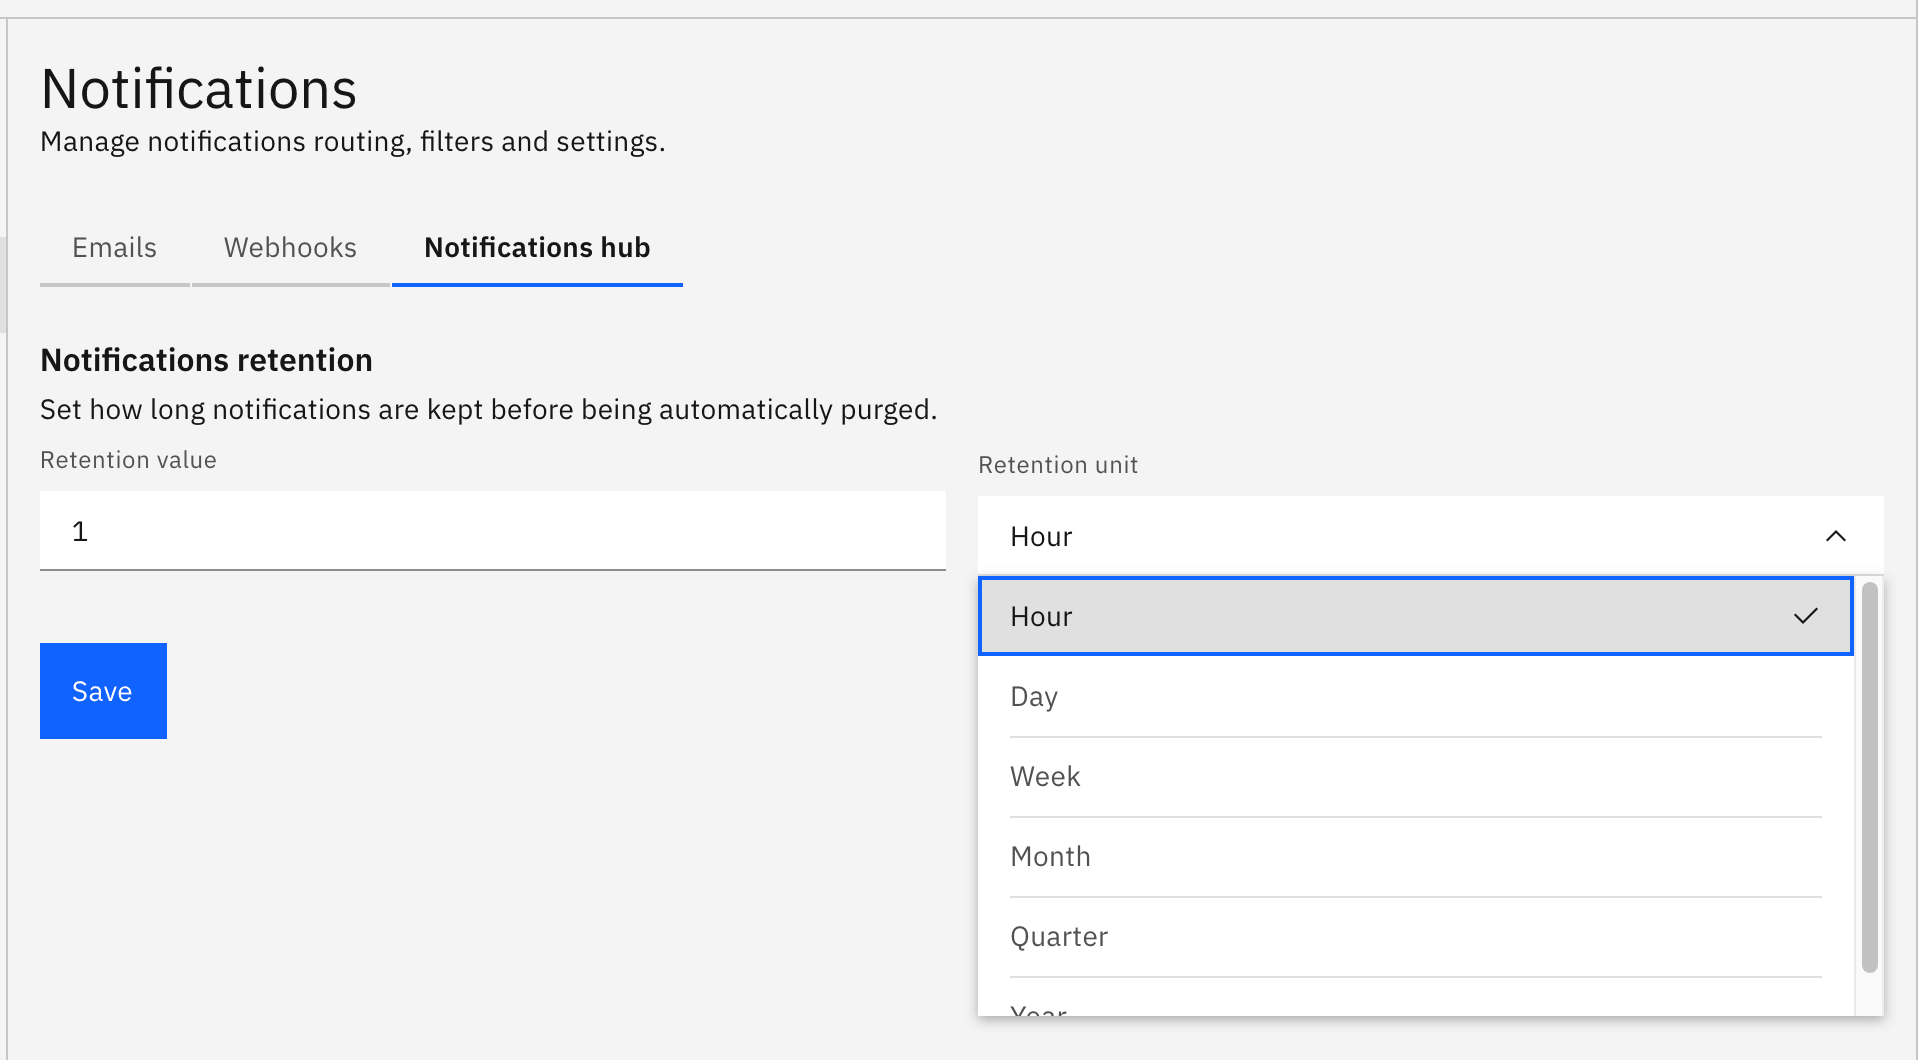
Within this panel, you can specify the exact retention period for your system alerts and notifications. Once the configured time frame is reached, older notifications will be automatically purged from the Notifications hub history.
|
Setting an appropriate retention policy is highly recommended for production environments with high transaction volumes or frequent alert thresholds triggers to prevent unnecessary database bloat. |