Windows Server Installation Guide
Gluesync provides two distinct installation paths for Windows Server environments. You can choose the method that best fits your infrastructure: a guided MSI wizard for servers with a Desktop Experience, or an automated PowerShell script for headless Server Core deployments.
System requirements
Before proceeding with the installation, ensure your Windows Server meets the minimum requirements:
-
Supported editions: Windows Server 2022 or 2025 (Windows Server 2019 support is deprecated).
-
CPU: 8 vCPU recommended (4 cores minimum).
-
RAM: 16 GB recommended (8 GB minimum).
-
Disk space: 200 GB free disk space recommended on the system drive.
-
Privileges: Elevated Administrator session required.
Windows Server with Desktop Experience
Ideal when the Desktop Experience shell is available. This path keeps things familiar with a guided installer and automatic Docker checks.
Compatible with Windows Server 2019, 2022 and 2025.
Step-by-step setup
-
Download the Gluesync MSI.
-
Right-click the MSI in File Explorer and choose Run as administrator.
-
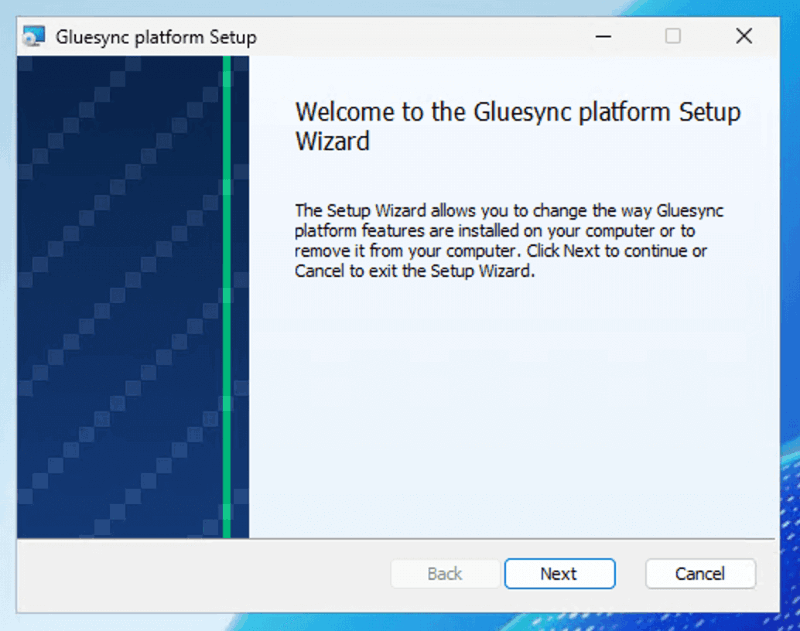
The Setup Wizard will launch. Click Next to begin.
-
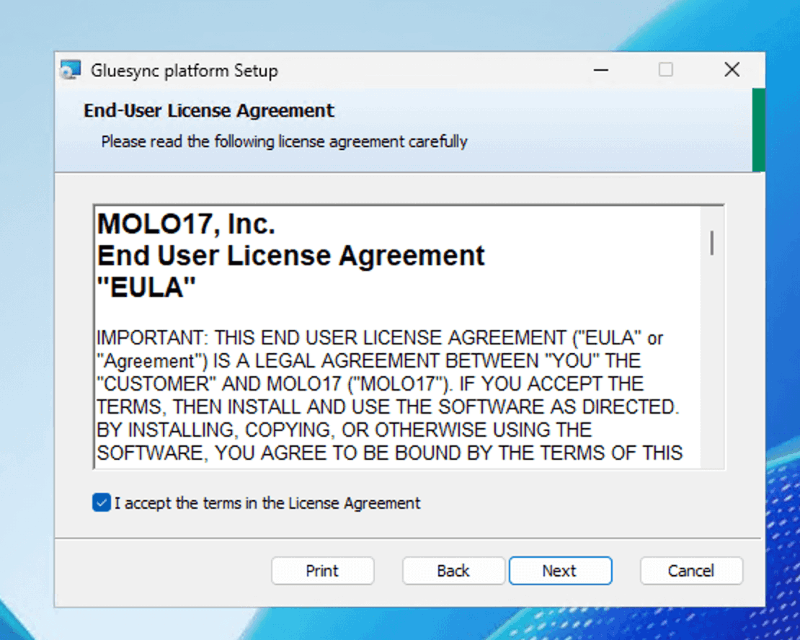
Carefully read the End-User License Agreement from MOLO17. Check the acceptance box and click Next.
-
Choose your destination folder. We highly recommend keeping the default installation path (
C:\Program Files\Gluesync\) to ensure seamless updates and support. Click Next.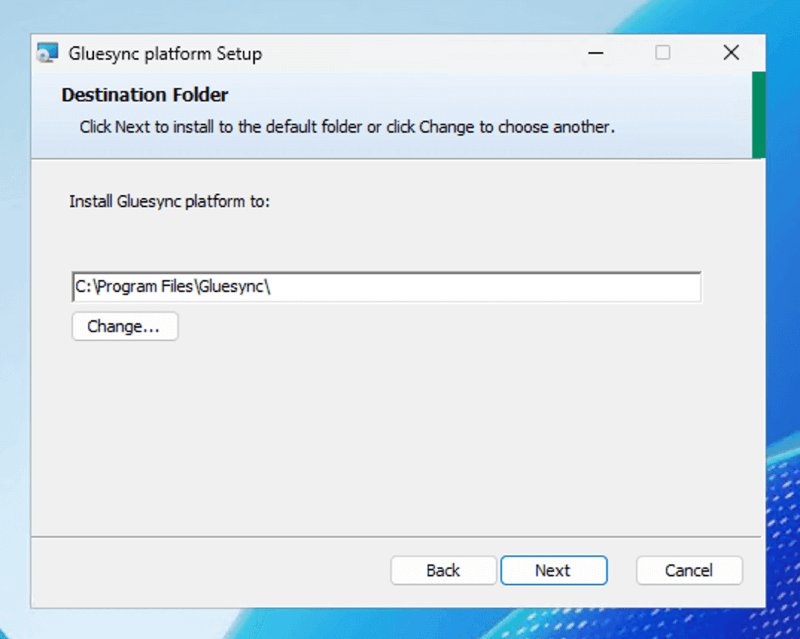
-
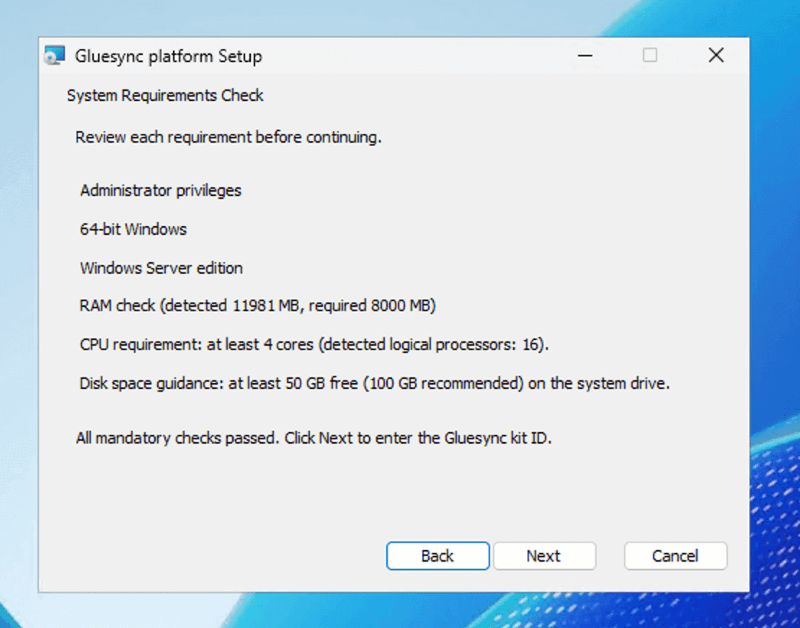
The installer will automatically perform a System Requirements Check. It verifies Administrator privileges, OS architecture, OS edition, RAM, CPU cores, and disk space. Once you see that all mandatory checks passed, click Next.
-
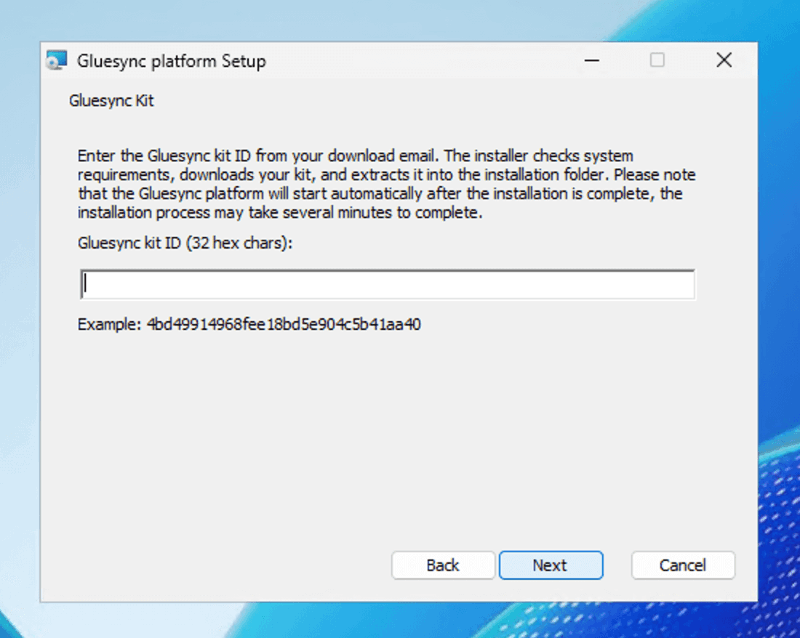
Enter your 32-character hex Gluesync kit ID. You can find this ID in the page where you downloaded the kit. Click Next.
-
The preliminary installation phase will now begin. During this step, the installer configures essential system prerequisites behind the scenes, including Docker Engine and Windows features. Once this finishes, you will be prompted to restart your computer. You can choose to restart immediately or later, but a system reboot is strictly required to apply these core changes.
-
After the server restarts and you log back in, the Gluesync Setup Wizard will automatically open back up. This is the expected behavior, as your system is now ready to install the actual Gluesync platform.
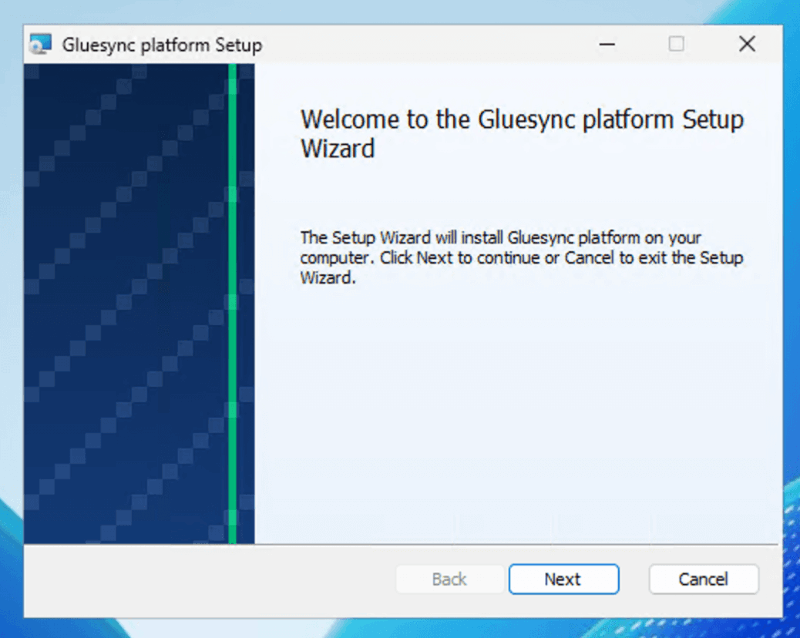
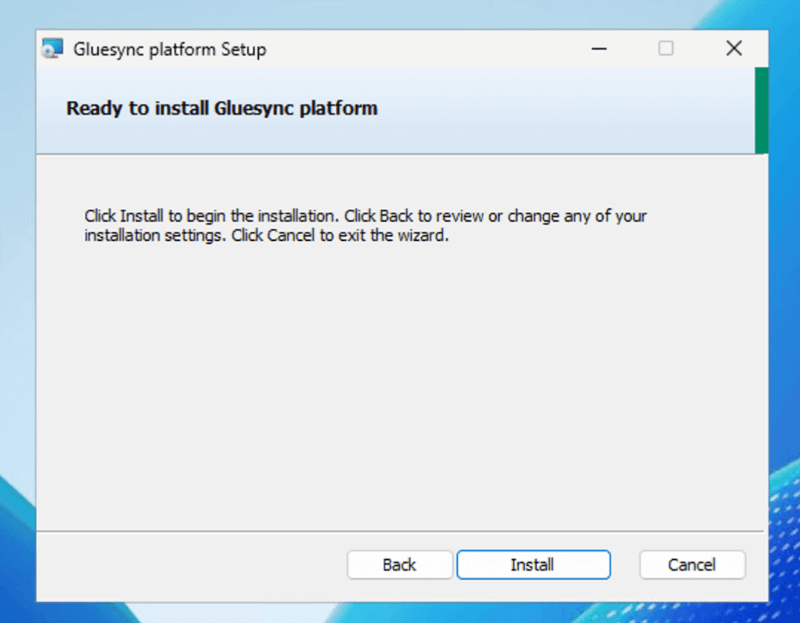
Simply follow the on-screen prompts again accepting the EULA, confirming your destination folder, and clicking Install to proceed with the final setup.
-
Once the installation is successfully completed, click Finish. An elevated PowerShell window will open automatically to perform the final Gluesync platform launch.
|
Keep the PowerShell window visible. Do not close it manually before it finishes; the terminal will tell you when the platform is ready. If the window does not appear, re-run the installer or check the logs at |
Windows Server Core automated install
Run this scripted setup when you are managing a Windows Server Core host from PowerShell or over SSH. This method bypasses the GUI and fetches all dependencies programmatically.
|
Requires: PowerShell launched as Administrator. |
Step-by-step automated setup
-
Open Installation kits & tools, validate your Gluesync licence, select Windows Server, and download
docker-installer-windows.ps1. -
From an elevated PowerShell session, change to the download directory and run:
Powershell -NoProfile -ExecutionPolicy Bypass -NoExit -File ".\docker-installer-windows.ps1" -
The script will start and present a welcome screen outlining the operations it will perform. Type
yesand press Enter to confirm and begin the installation.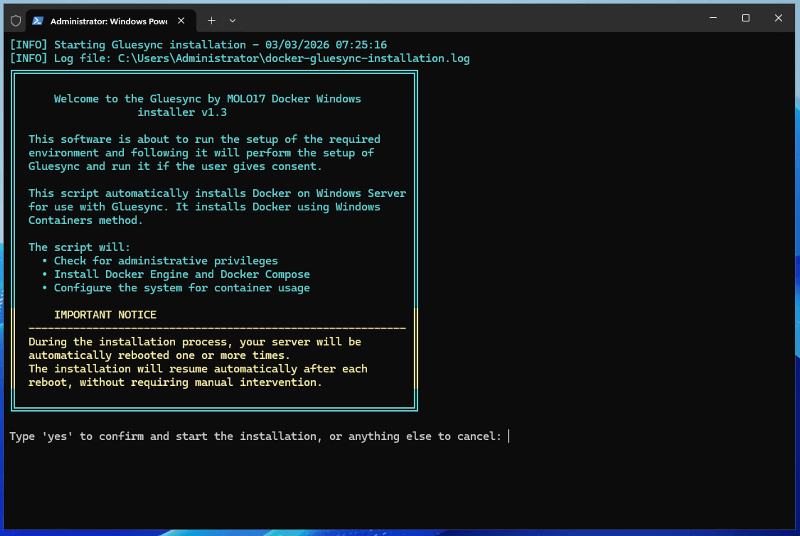
-
The installer will run system pre-flight checks (CPU, RAM, Disk, and Network reachability). Since Docker requires Windows Containers and Hyper-V features, a system restart is mandatory to finish the installation process. Type
yesto reboot immediately. The installation will automatically resume without requiring manual intervention after you log back in.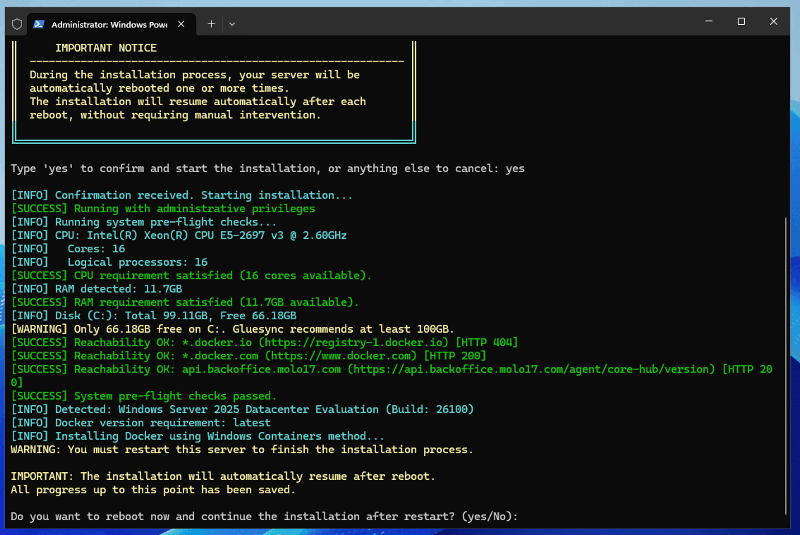
-
After the server restarts and you log back in, the script resumes automatically. It will confirm that the Docker installation process is completed and ask if you want to proceed with the Gluesync setup. Type
yand press Enter. -
When prompted, paste your 32-character hex Gluesync kit ID (found in the download page) and press Enter. The script will download, extract, and install the Gluesync Docker components. Finally, it will ask if you would like to start Gluesync now. Type
yto launch the platform.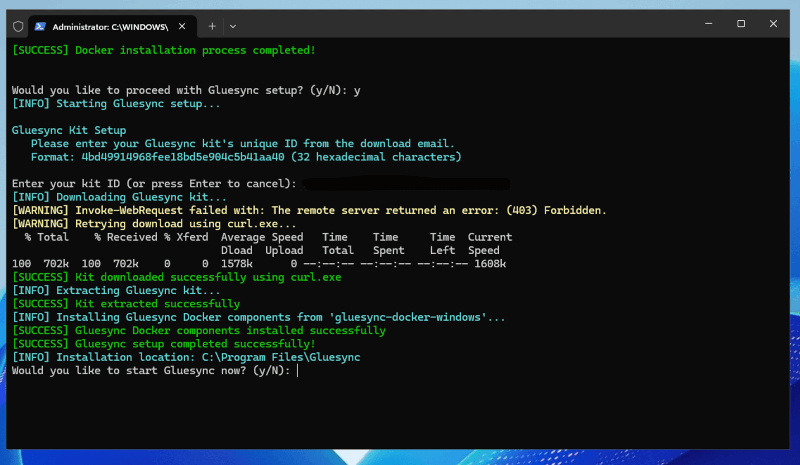
Post-installation steps
Once the installation is complete and the containers are running:
-
Open your browser and navigate to the Gluesync Control Plane at
https://localhostor your server’s IP address. -
Log in using the default credentials (
admin/admin). You will be prompted to change your password on the first login. -
Proceed to configure your source and target agents following the Getting Started Guide.