Data Filtering
Data filtering enables granular control over which data gets synchronized, allowing you to define specific criteria and rules to include or exclude data based on your business requirements.
On-the-fly data filtering feature
The Settings dialog includes an on-the-fly data filtering feature that enables users to define filters for incoming data feeds. This feature allows you to filter out data that does not match your desired rules while the data is being processed.
Filters do not consume resources at source datastore level, they are applied at the Gluesync platform level.
Filters are applied after the data is fetched from the source datastore and before it is processed by the Gluesync platform, therefore applied both for CDC tasks as well as while performing snapshots.
How to use
Access filtering rules
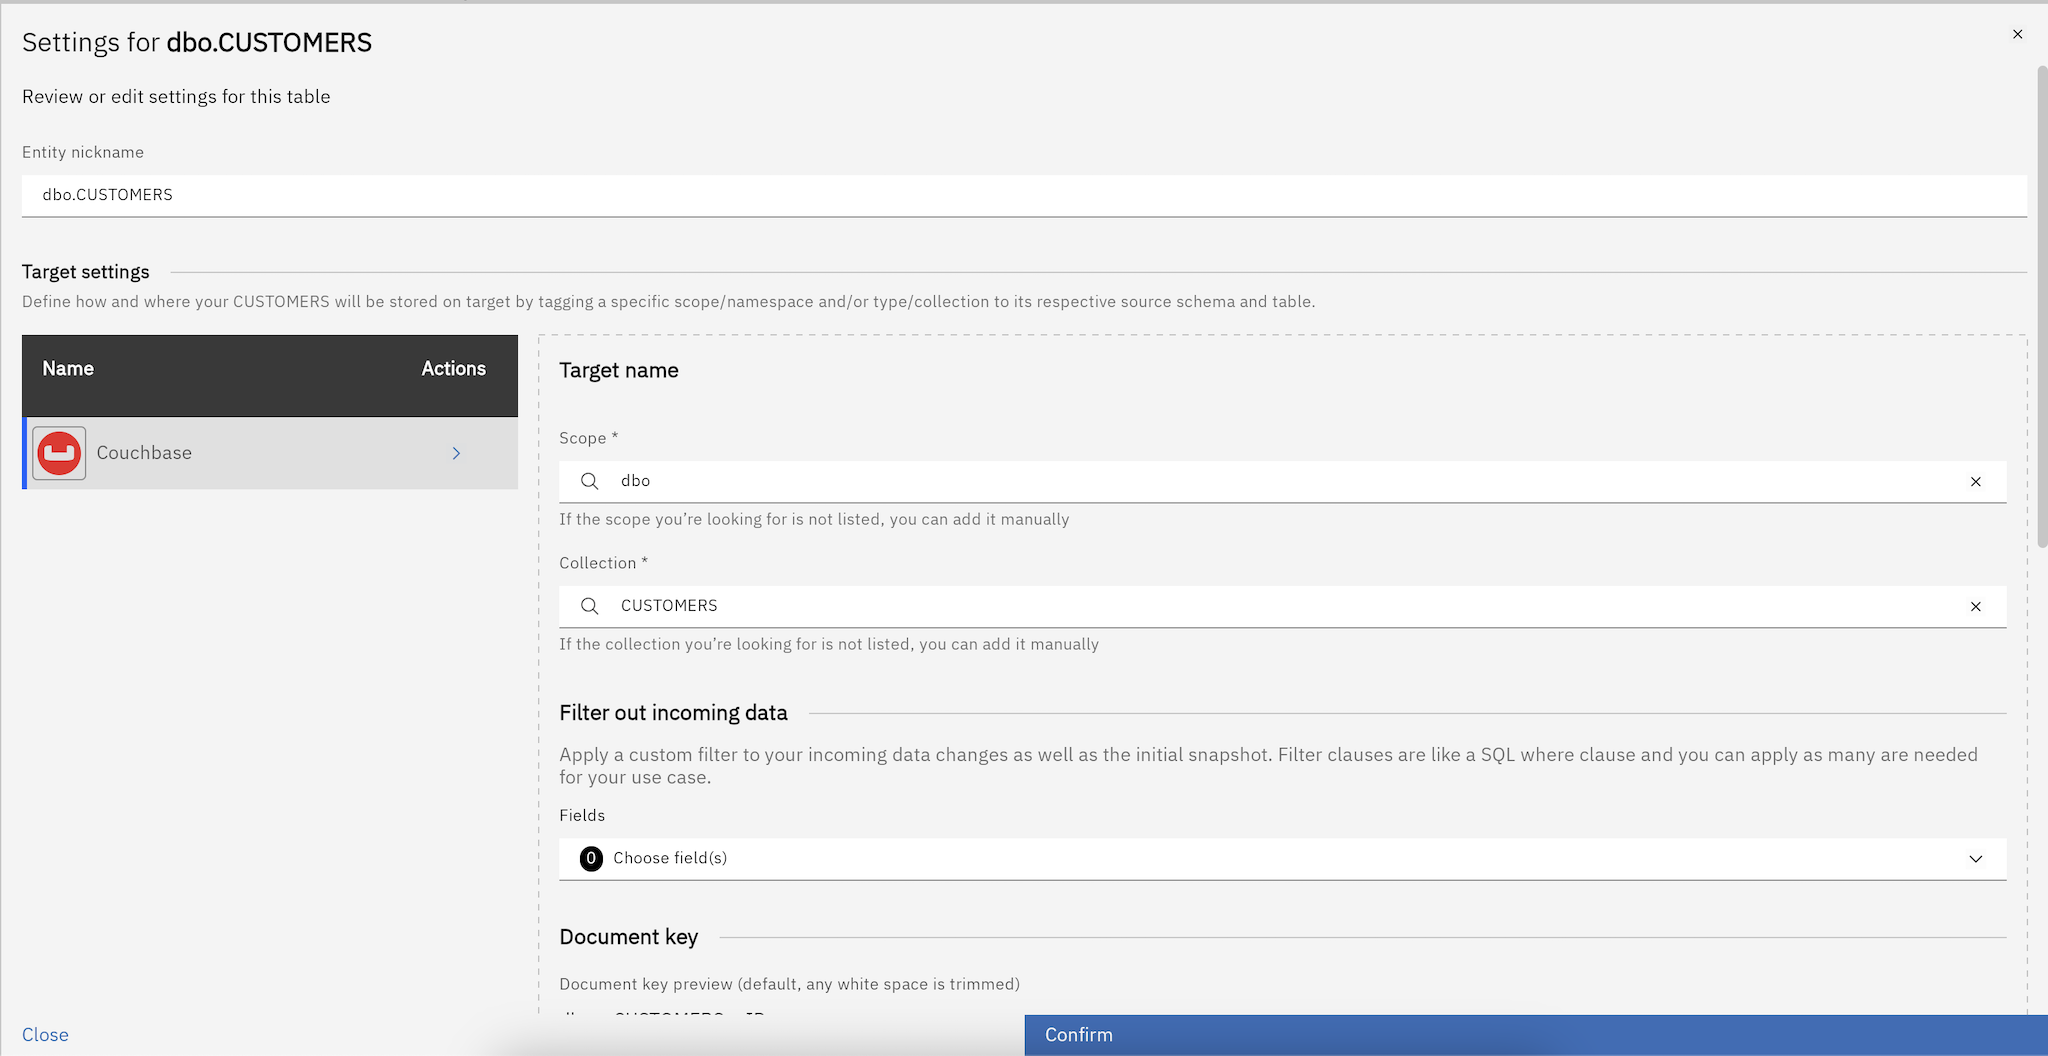
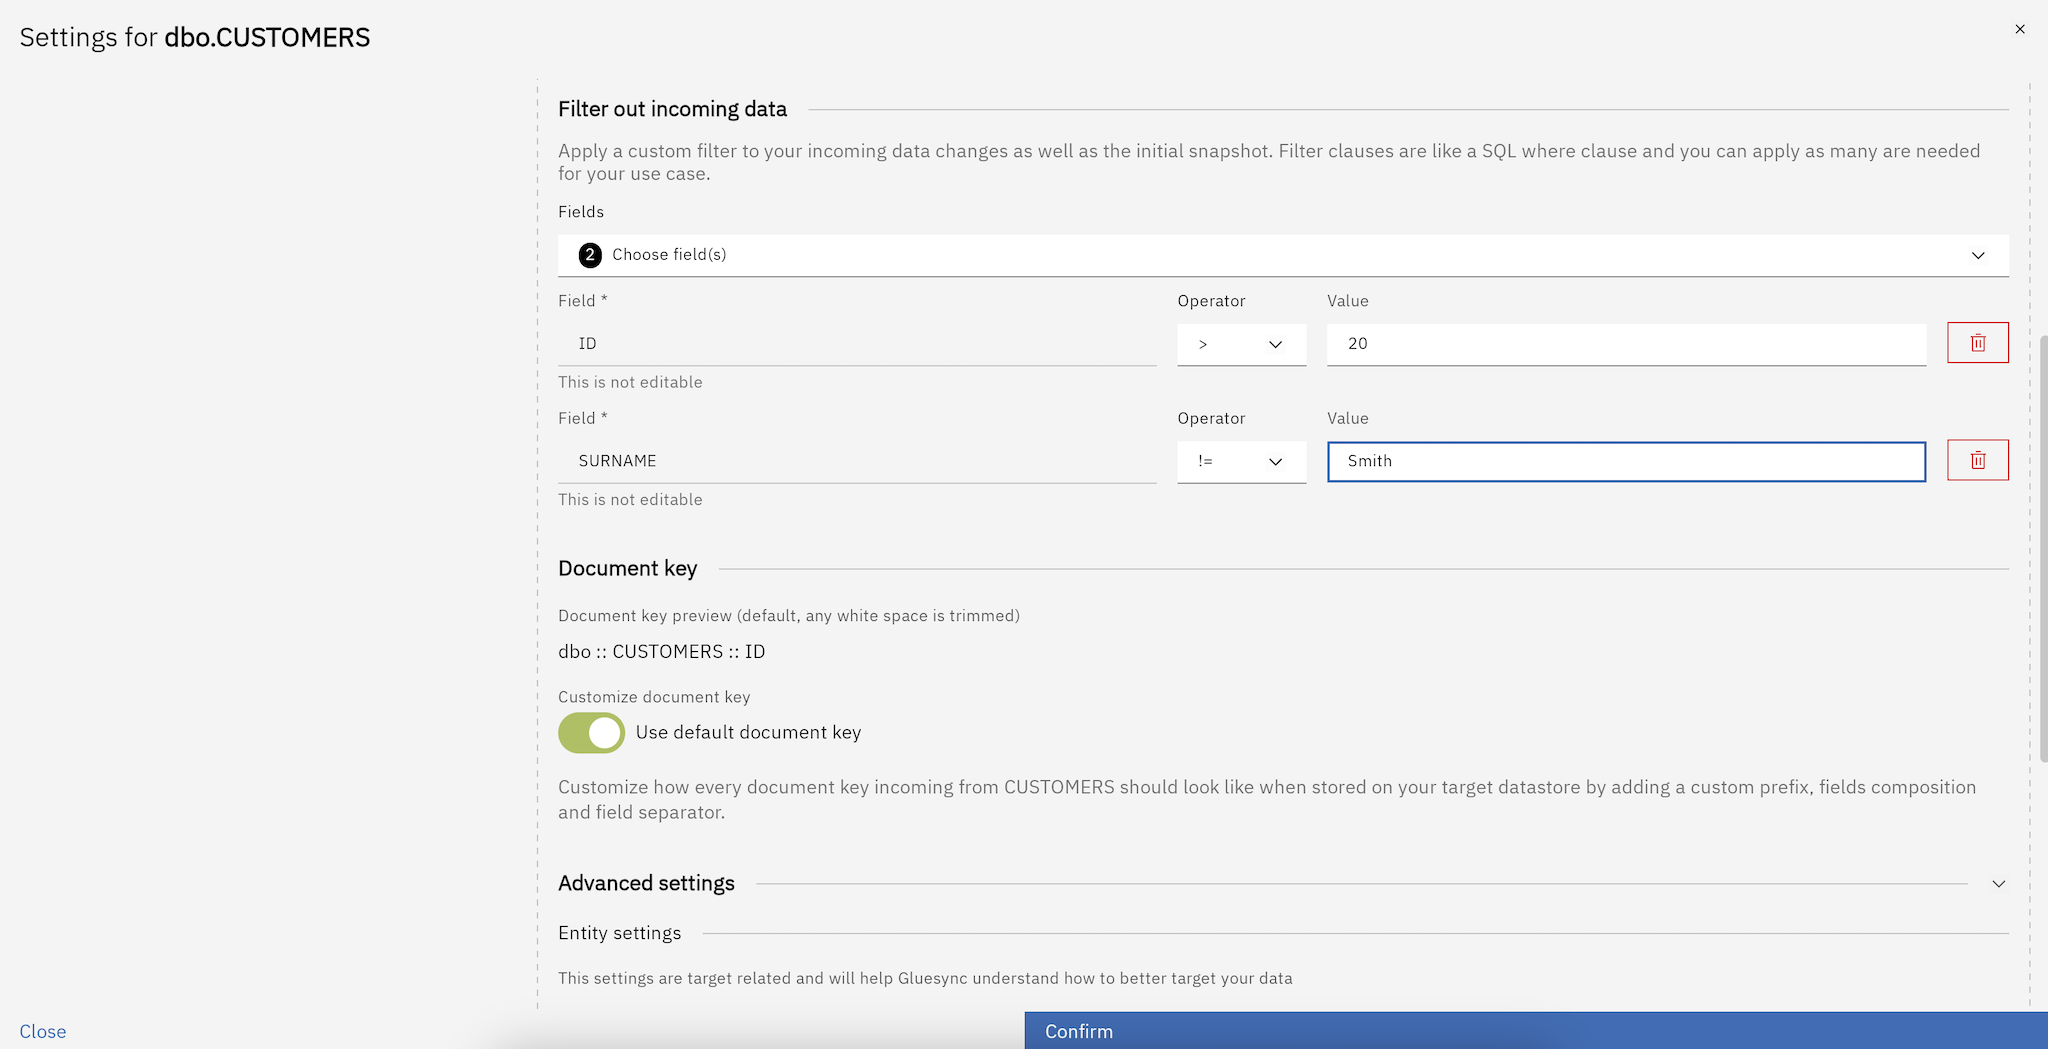
In the Settings dialog, navigate to the dedicated section named Filter out incoming data. This section allows you to define filtering rules.
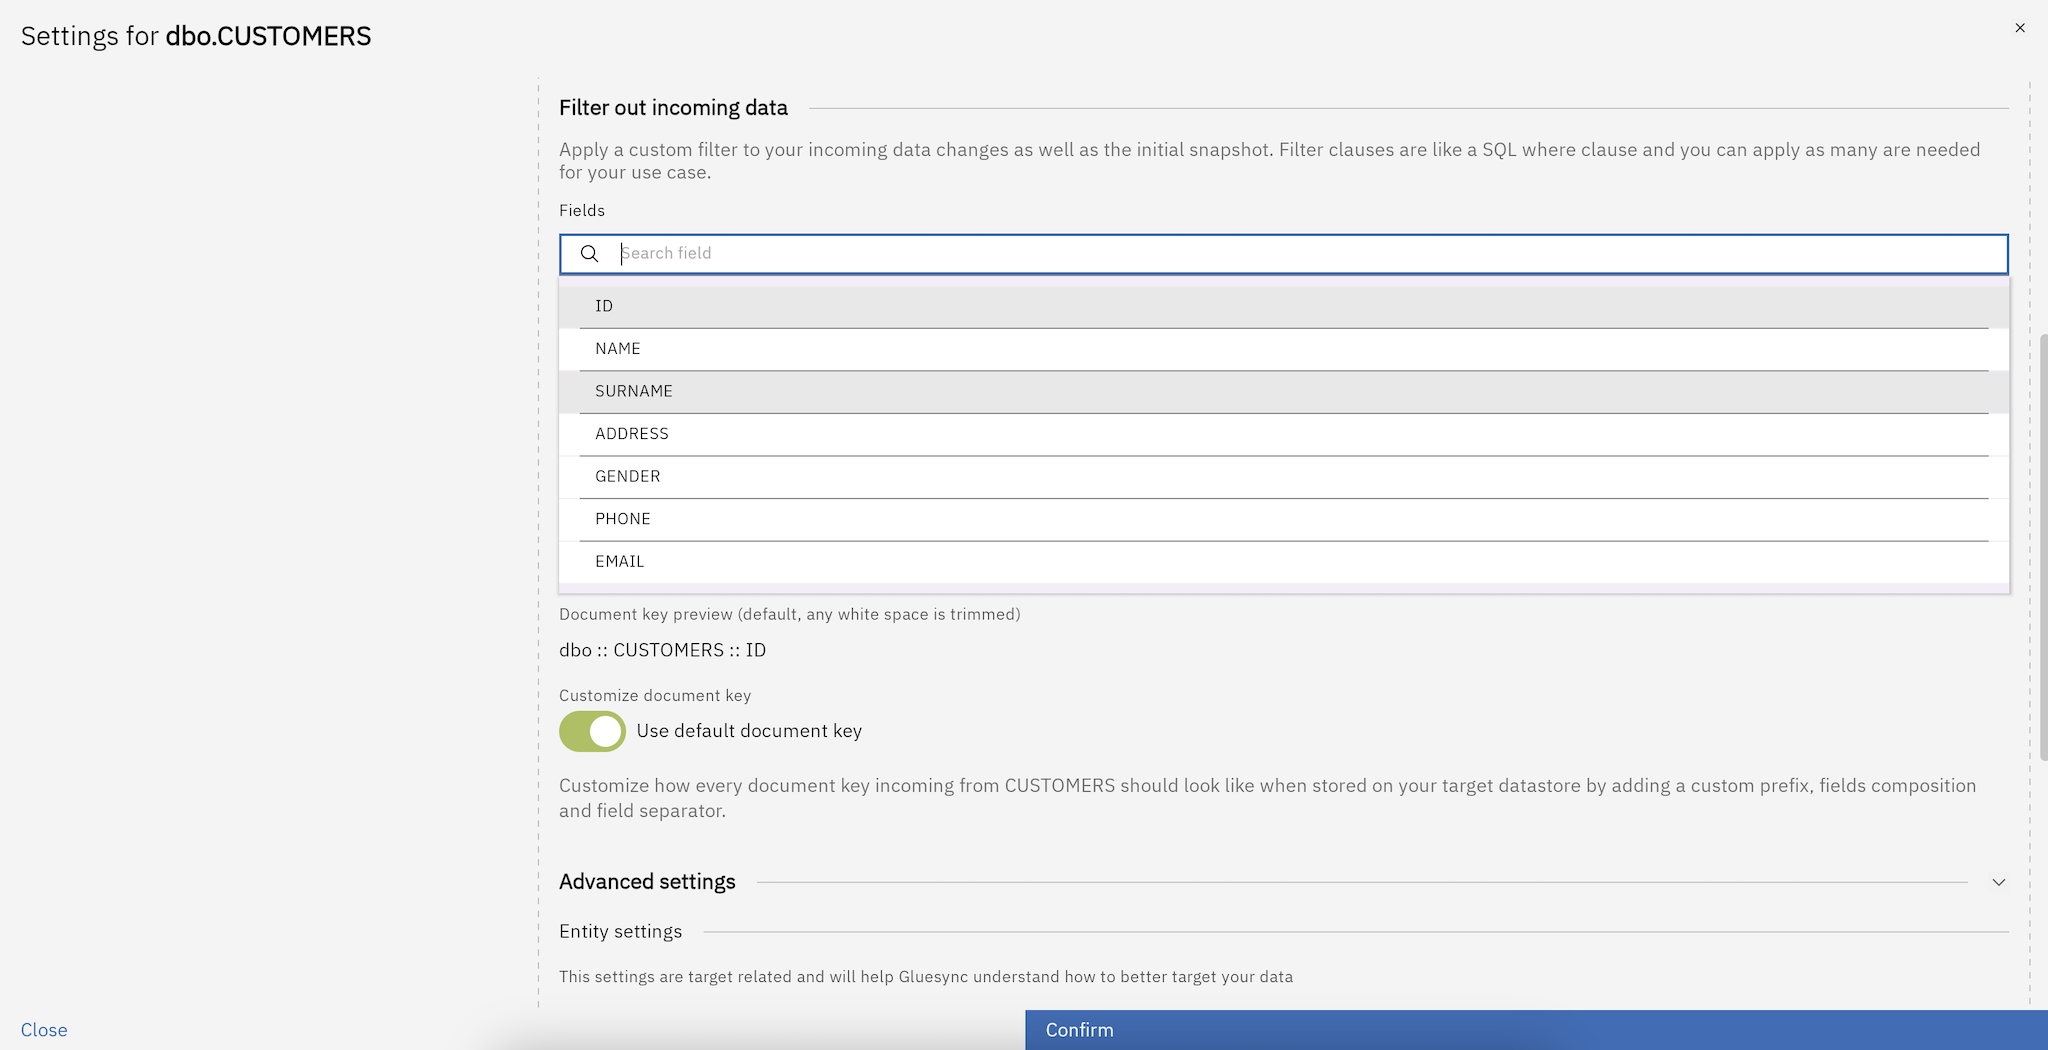
Select columns for filtering
Click on the dropdown menu to choose one or more columns you want to apply filters to.
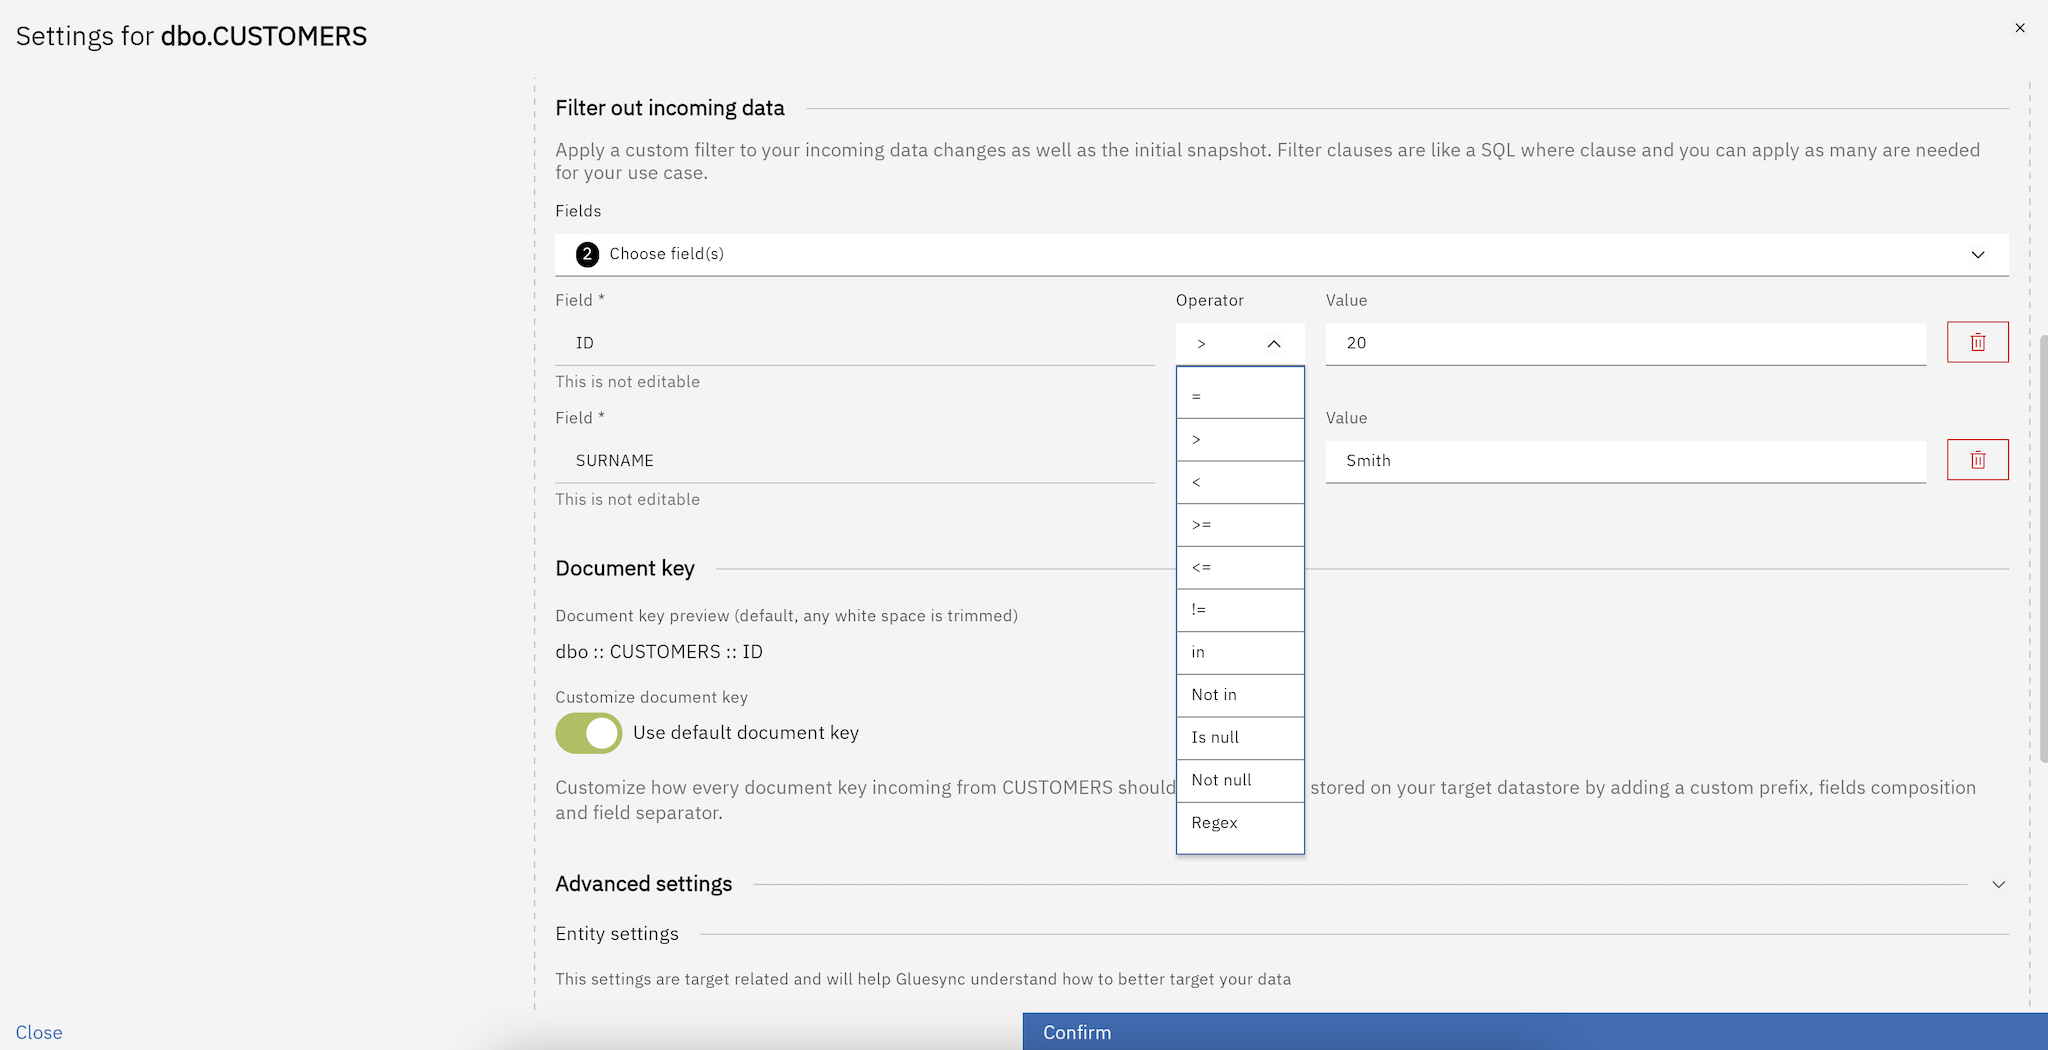
Define filtering operators
For each selected column, you can choose one of the following operators:
Operator |
Description |
|
Equal to |
|
Greater than |
|
Less than |
|
Greater than or equal to |
|
Less than or equal to |
|
Not equal to |
|
Value exists in a list |
|
Value does not exist in a list |
|
Value is null |
|
Value is not null |
|
Use regular expressions like |
Example use case
Scenario: You want to filter out all records where the "ID" column is greater than 20.
Steps:
-
Select the "ID" column from the dropdown.
-
Choose the
>operator. -
Enter
20in the field values section.
This setup ensures that only records with an ID greater than 20 are included in your data feed.